

These 14 steps to help your fearful dog flourish come from years of watching the same pattern play out: owners with a fearful dog drowning in scattered, sometimes contradictory advice, with no clear sense of order or priority. What actually works when you follow the 14 steps to help your fearful dog flourish is not a single trick — it is a sequence, applied patiently and in the right order.
My most anxious dog came to us terrified of almost everything — vacuum cleaners, strangers, the sound of plastic bags, even sudden movement near her food bowl. The advice I found early on was a mess of overlapping suggestions with no real structure. What eventually worked was building a deliberate, step-by-step approach rather than randomly trying techniques as they occurred to me.
This detailed plan for the 14 steps to help your fearful dog flourish is organised into three phases: foundation, exposure, and confidence-building. If your fearful dog is also a recent rescue, our 3-3-3 rule for rescue dogs guide covers the general decompression timeline these steps fit into, and if the fear centres specifically on unfamiliar men, our guide to a rescue dog scared of men covers that particular trigger in more depth.
Table of Contents
Foundation Steps (1–5): Building Safety Before Anything Else
Step 1: Identify the specific triggers
Vague fear (“my dog is just nervous”) is hard to work with. Specific fear (“my dog panics at sudden loud noises but is fine with quiet strangers”) is something you can actually build a plan around. Spend a week simply observing and writing down exactly what triggers a fear response and at what distance or intensity.
Step 2: Eliminate flooding entirely
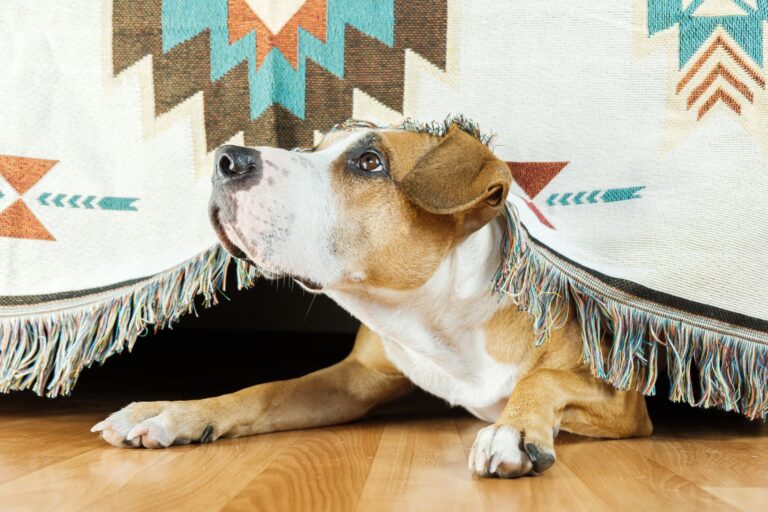
Flooding — forcing prolonged exposure to a fear trigger in the hope the dog will “get over it” — almost always makes fear worse, not better. If your dog trembles, hides, pulls away, barks, or drools in distress during any current routine, that routine needs to change before confidence-building can begin.
Step 3: Create a guaranteed safe space
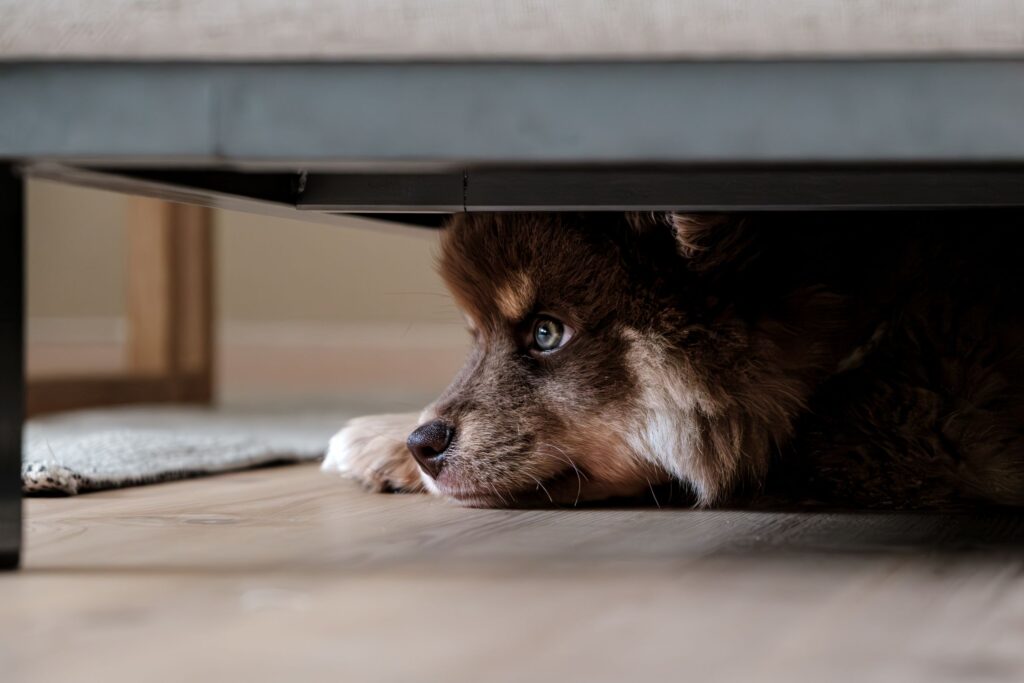
Every fearful dog needs somewhere to retreat with zero pressure to perform or interact. This might be a crate, a specific room, or simply a corner with a bed. The defining feature is that nothing bad — no medication, no nail trims, no forced interaction — ever happens there.
Step 4: Become a predictable, trustworthy guide
Your dog needs to learn that you will never force them into situations where they are overwhelmed. This means resisting the urge to physically pull a hesitant dog toward something scary. A pattern of dragging rather than waiting teaches a fearful dog they cannot rely on you for safety — which undermines every later step.
Step 5: Introduce simple obedience as structure, not pressure
Basic commands like sit, down, and touch give an anxious dog something predictable to focus on besides their fear. Keep these sessions short, low-pressure, and rewarding — the goal here is confidence through competence, not formal obedience.
Exposure Steps (6–10): Gradual, Controlled Progress
Step 6: Identify your dog’s threshold distance
Your dog’s threshold is the distance from a trigger at which your dog notices it but does not panic. Effective work in any fearful dog flourish plan only happens at or beyond this threshold — pushing closer undermines the entire process.
Step 7: Begin desensitisation at threshold distance
Expose your dog to a mild version of the trigger — a distant sound, a calm stranger far away — while staying below the point of fear. The goal is simply neutral awareness, not immediate comfort.
Step 8: Pair exposure with high-value rewards
Counterconditioning works by pairing the trigger’s appearance with something genuinely wonderful — your dog’s favourite treat, reserved exclusively for this purpose. Over repeated sessions, the trigger itself starts to predict something good rather than something threatening.
Step 9: Increase exposure only when truly ready
Decrease distance or increase trigger intensity only after your dog shows consistent calm at the current level across multiple sessions, not just one good day. Rushing this step is the most common reason progress stalls or reverses.
Step 10: Track recovery time, not just reaction
Progress is not only measured by your dog approaching a trigger directly. A faster return to calm after a fear response, and more relaxed body language even at a distance, are equally valid — and often earlier — signs of real progress.
Confidence-Building Steps (11–14): Beyond Just Coping
Step 11: Add mental stimulation through enrichment
Puzzle feeders, scent games, and gentle nose-work tap into a dog’s natural abilities and build genuine confidence through small daily successes. The mental tiredness this produces also leaves less energy available for anxious behaviour.
Step 12: Use gentle physical confidence-building
Low obstacles, gentle agility-style exercises, or simply navigating new but unthreatening textures and surfaces builds physical confidence that often translates into broader emotional resilience.
Step 13: Generalise progress across different contexts
A dog that is comfortable with one calm stranger in your living room has not necessarily generalised that comfort to a stranger in a park. Deliberately practising in varied, controlled settings — always at threshold distance — helps confidence transfer beyond the original training context.
Step 14: Celebrate progress that is not linear
Fearful dogs do not improve in a straight line. Good weeks are followed by harder days, and that does not erase the progress already made. Recognising and rewarding genuine improvement through the 14 steps to help your fearful dog flourish — however small — keeps both you and your dog moving forward rather than discouraged by an unrealistic expectation of constant upward progress.
Tools That Support This Framework
None of these tools replace the 14 steps to help your fearful dog flourish themselves, but a few tools make them easier to apply consistently. A treat pouch keeps high-value rewards accessible during exposure sessions so you never miss a timing window.
Puzzle feeder toys are useful for the enrichment work in Step 11, and a calming pheromone diffuser such as Adaptil can take the edge off background stress during the foundation phase. According to the American Kennel Club, consistency in tools and routine matters as much as the techniques themselves when working through a structured plan like this one.
When to Bring In a Professional
If progress stalls for an extended period despite consistent application of the 14 steps to help your fearful dog flourish, if fear responses are escalating rather than easing, or if there is any safety concern involved, a certified professional trainer or veterinary behaviourist experienced specifically with fear-based behaviour should be your next step.
There is no failure in seeking this support — some fear responses genuinely require professional guidance to resolve safely. Whole Dog Journal and Fear Free Happy Homes both offer additional reading if you want a second perspective alongside professional support. Our complete dog training guide and guide to recognising fear-based aggression are useful next stops too.
Frequently Asked Questions
How long does this 14-step process typically take?
There is no fixed timeline — it depends entirely on your dog’s history, the severity of their fear, and how consistently the steps are applied. Some dogs show meaningful improvement within a few weeks of foundation work alone. More deeply fearful dogs, particularly those with limited early socialisation or a difficult history, may need many months of steady work through all 14 steps before significant confidence develops.
Can I do all 14 steps with one fear trigger before moving to another?
Generally, yes, and this is often the better approach. Working through the 14 steps to help your fearful dog flourish one trigger at a time, building genuine confidence with one specific trigger before introducing a second one, prevents overwhelming your dog and gives you a clear sense of what is and is not working. Once your dog has a solid pattern of success with one trigger, the same process tends to apply more quickly to subsequent ones.
My dog seems to be regressing after weeks of progress — what happened?
Regression after genuine progress is common and does not mean the work has failed. It can be triggered by an unrelated stressful event, illness, a change in routine, or sometimes nothing identifiable at all. Return to the last stage where your dog was reliably comfortable and rebuild from there rather than treating the regression as a reason to abandon the process.
Do I need to follow these 14 steps in exact order?
Within the 14 steps to help your fearful dog flourish, the three phases — foundation, exposure, and confidence-building — should generally happen in that order, since each one depends on the last. Within a phase, some flexibility is fine; for example, Steps 11 and 12 can happen in either order depending on what motivates your particular dog. What matters more than strict sequencing is not skipping the foundation phase entirely.
Is this framework different for a fearful puppy versus a fearful adult dog?
The same 14 steps to help your fearful dog flourish apply to both puppies and adults, but puppies in their socialisation window (roughly 3 to 14 weeks) often respond faster since fear associations are less deeply ingrained. Adult dogs, especially rescues with an unknown history, may simply need more repetitions at each threshold before moving forward — the process itself does not change.
| Training Disclaimer: This article reflects the personal experience and research of the author and is for informational purposes only. It does not replace guidance from a certified professional dog trainer or veterinary behaviorist, particularly for dogs showing signs of fear-based aggression. |